
Top 10 Prototyping Techniques for Inventors (From Simple to Advanced)
Prototyping an invention is one of the most important—and most misunderstood—parts of the invention process.
Many inventors assume they need a polished, expensive prototype right away. In reality, the most effective approach is often the opposite: start simple, learn quickly, and build up only when necessary.
We talked to a prototyping expert. Noah McNeely, host of the Product Genius Podcast and founder of Product Quickstart puts it this way:
“Prototyping is about learning something you don’t know. Inventors should seek to learn as much as possible as cheaply as possible, instead of jumping too quickly into expensive prototyping methods.”
With that mindset, here are 10 prototyping techniques every inventor should understand, ranging from extremely simple to more advanced.
1. Paper & Cardboard Prototyping
This is the fastest and cheapest way to start.
Use:
- Paper
- Cardboard
- Duct tape
- Foam board
- Even play dough
What it’s for:
- Confirming size and proportions
- Exploring basic shape
- Understanding how a user might interact with the product
Why it matters:
You can learn a surprising amount before spending a single dollar on complex tools.
2. Garage Prototyping (DIY Functional Builds)
This is where things start to become physical and functional.
Use:
- Off-the-shelf hardware
- Wood, metal, or plastic scraps
- Hand tools or basic shop equipment
What it’s for:
- Testing simple mechanisms
- Proving basic functionality
- Identifying obvious design flaws
Why it matters:
This stage bridges the gap between concept and real-world function—still at relatively low cost.
3. Virtual Prototyping (CAD & On-Screen Models)
Before building complex physical parts, it often makes sense to model them digitally.
Use:
- CAD software
- Basic animations
- Assembly simulations
What it’s for:
- Visualizing geometry
- Checking fit and alignment
- Exploring design variations quickly
Why it matters:
Virtual prototyping is often far cheaper than building multiple physical iterations.
4. Basic 3D Printing (FDM)
FDM (filament-based) 3D printing is widely accessible and relatively inexpensive.
What it’s for:
- Early physical parts
- Form and fit testing
- Simple functional components
Why it matters:
It allows you to hold and test your idea quickly—but don’t mistake it for a final product.
5. Advanced 3D Printing (SLA / SLS)
These methods produce higher-quality and more functional parts.
- SLA: smooth, high-detail parts
- SLS: stronger, more durable components
What it’s for:
- More refined prototypes
- Better mechanical testing
- Presentation models
Why it matters:
Useful when you need better accuracy or strength—but at a higher cost.
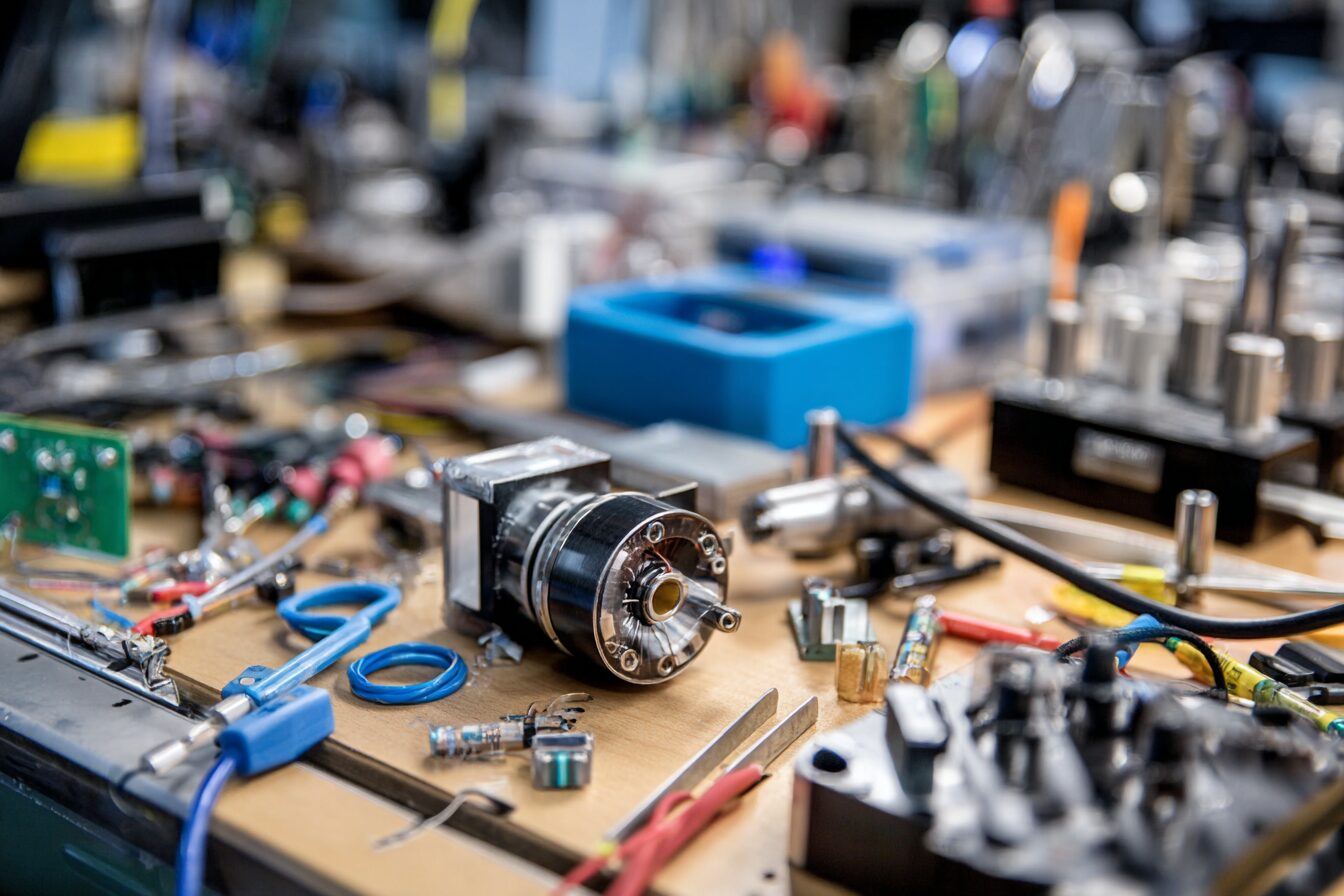
6. Machining (Wood, Metal, or Plastic)
Traditional machining creates precise, durable parts.
What it’s for:
- Functional testing under real conditions
- Mechanisms requiring strength and precision
- Early production-like components
Why it matters:
Machined parts often behave more like final products than 3D-printed ones.
7. RTV Silicone Molding & Urethane Casting
This method allows you to create small batches of parts.
What it’s for:
- Replicating components
- Testing materials similar to production plastics
- Producing multiple units
Why it matters:
It’s a step toward low-volume production without full tooling costs.
8. Two-Part Foam Casting
Useful for products that require lightweight internal structures.
What it’s for:
- Buoyancy testing
- Structural fill
- Lightweight prototypes
Why it matters:
Helps simulate real-world performance for certain product categories.
9. Laser Cutting & Bending (Sheet Materials)
This technique is excellent for flat or folded designs.
Services like SendCutSend make it easy to upload files and receive precision-cut parts quickly.
What it’s for:
- Sheet metal or plastic components
- Enclosures and brackets
- Rapid iteration with consistent accuracy
Why it matters:
Fast, relatively affordable, and highly repeatable.
10. Factory-Coordinated Prototypes
At a more advanced stage, prototypes may be produced through a factory or manufacturing partner.
What it’s for:
- Pre-production validation
- Process testing
- Cost and manufacturability analysis
Why it matters:
This is where your design begins transitioning into something that can actually be produced at scale.
Final Thoughts: Choosing the Right Path
The biggest mistake inventors make is not choosing the wrong prototyping method—it’s choosing the right method at the wrong time.
Start simple. Learn quickly. Increase complexity only when it’s justified.
Successful inventing isn’t about building the perfect prototype right away—it’s about building the right prototype for the question you’re trying to answer.
Next Steps
If you’re early in the process:
- Start with simple materials
- Validate your assumptions
- Avoid unnecessary expense
As your understanding improves, you can move into more advanced techniques with confidence.